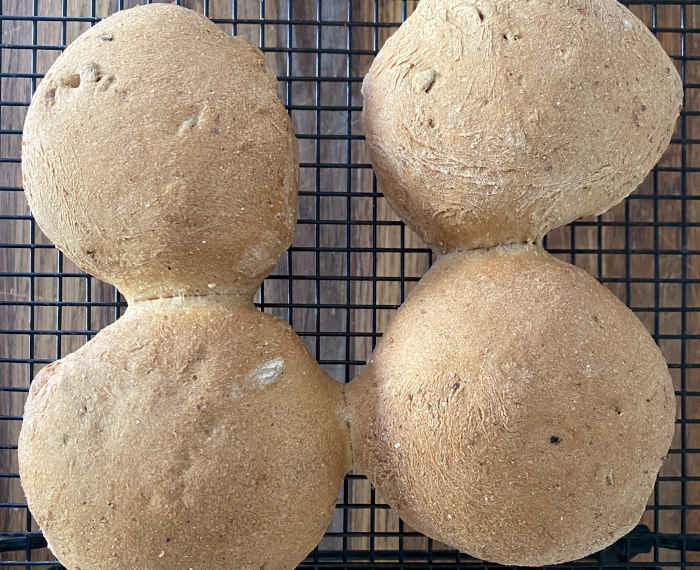
There's nothing better for a meal starter than those small freshly made buns that good restaurants provide. They have a nice crunch when opened up, and a soft interior that's light and easy to eat (with or without butter). I've been trying now for quite some time to get better at making this kind of bread.
If you're new to baking, here's a few extra pointers to help you get started baking
Coming back to the task at hand (making these buns), given these buns are made with a malted flour, I didn't bother to add any extra seeds, but you could easily incorporate some seeds either on the top just before baking, or incorporate them during the mixing stage if you like. However, if you're starting out with baking, get the ingredients as accurate as you can ini tially, especially the flour/water ratio which should be close to 60% water to 100% flour.
Ingredients
You can either go with 100% malted flour, or go 50%/50% with strong white flour depending on the taste you prefer. If you use 100% malted flour, depending on the brand you may need to add a little more flour, during the first kneading, if the mixture is just too sticky then add a little more flour. You're better starting out using the 50/50 method, it is more forgiving.
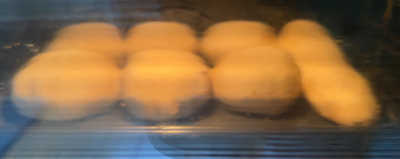
Did you know that only Hovis can call their malted flours and breads Granary, it is a trademark that is owned by them so most other companies use terms around "malted" instead. The batch you see above were made with Doves Farm Malthouse flour but most good quality malted flours should do equally well.
| Nutritional Information | ||
|---|---|---|
| Nutrient | Per Serving | Total |
| Energy | 1307.97kJ | 7847.84kJ |
| Calories | 313.08kcal | 1878.46kcal |
| Carbohydrate | 62.63g | 375.76g |
| Sugar (Low Accuracy) | 0g | 0g |
| Fibre | 2.37g | 14.20g |
| Protein | 10.67g | 64.00g |
| Sodium | 647.27mg | 3883.60mg |
| Total fat | 3.86g | 23.17g |
| Saturated fat | 0.38g | 2.28g |
| Polyunsaturated fat | 1.24g | 7.43g |
| Monounsaturated fat | 1.73g | 10.39g |
| Cholesterol (Low Accuracy) | 0mg | 0mg |
| Vitamin a (Low Accuracy) | 0µg | 0µg |
| Vitamin b | 0.05mg | 0.30mg |
| Vitamin c (Low Accuracy) | 0.00mg | 0.02mg |
| Vitamin d (Low Accuracy) | 0µg | 0µg |
| Vitamin e | 0.77mg | 4.60mg |
| Vitamin k (Low Accuracy) | 0.00mg | 0.00mg |
| Calcium | 13.98mg | 83.85mg |
| Iron | 3726.40µg | 22358.40µg |
| Magnesium | 22.05mg | 132.30mg |
| Potassium | 97.42mg | 584.51mg |
| Selenium | 33.68µg | 202.05µg |
| Zinc | 0.82mg | 4.90mg |
Based on 6 servings, we sourced nutrient data from:
Method
Kneading, proving and mixing
Personally, I'm a bit lazy and often make my doughs in the bread-maker using the dough setting. It does a very good job of kneading, warming and proving. In fact it gets near perfect results every time. If you go with this approach, put in the liquid ingredients first followed by the dry. Either way, measure in the ingredients carefully.
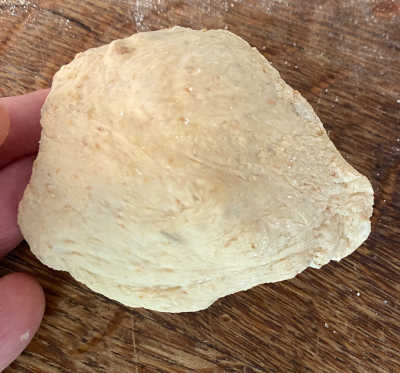
No matter if you use a bread-maker or mixer with a dough handle, at the end of the first kneading stage the dough should not be too sticky and should hold its shape while resting, if not, add a bit more flour.
If you're using fresh yeast, crumble this into the water at the very beginning and give it a few minutes before going further. Always keep the salt away from the yeast until the mixing starts.
If you're making the dough by hand, knead and prove until the dough is double in size at twice.
Preparing into buns
I normally roll the dough into a long tube that's approximately as thick as you want the buns. Then using a dough scraper (or a knife if you dont have one) cut the dough in half. Then cut the dough again and again until you get as many buns as needed. Work each bun by rolling it into a ball to get the bun shape. The last step is to stretch out the dough on the top, you do this by pinching the sides and pulling that dough to the bottom.
If you wanted seeds on the top of the buns, you can oil slightly the tops and roll each bun in the seed mix. Another option is to roll them in semolina or coarse flour such as spelt, either works well.
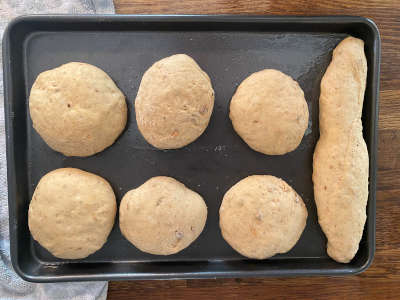
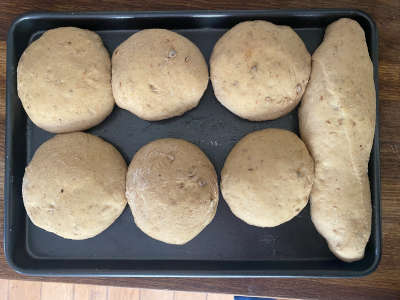
Lightly oil a baking tray and put the buns onto the tray, spread out on the tray allowing for them to double in size during cooking. Cover the buns and leave for about 30-40 minutes somewhere warm to double in size again. We'll need a hot oven for the next stage, now is the time to put the oven on, and pre warm it to at least 220°C fan.
Cooking the buns in the oven
The crispy crust comes from moisture on the surface of the bread, I recommend a water mist spray bottle, the ones for ironing or plant use are absolutely fine, but make absolutely sure they've not been used for anything else.
Once the oven is fully up to temperature (at least 220°C) then get the buns in along with some moisture, and close the door quickly. This is critical to good results. My usual process is, pre-spray water mist over all the buns, open the oven, straight in with the buns, and then a few more spays of mist before closing the door. Do not open the oven again for at around 10 minutes. After closing the door, I turn the temperature down to around 180°C fan.
Depending on the size of the buns the total cooking time will change, rule of thumb is small buns take about 12-15 minutes, medium buns take about 15-20 minutes, larger buns 20 minutes or more. It is better to leave for longer if unsure.
These may be of interest
- Similar - Modern easy bake Focaccia with herbs and olives
- Similar - Bread maker Olive and Italian herb loaf
- Similar - Bread maker everything rye/spelt/wholemeal loaf
- Similar - Bread maker 50% wholemeal loaf
- Similar - Bread maker seeded wholemeal loaf
