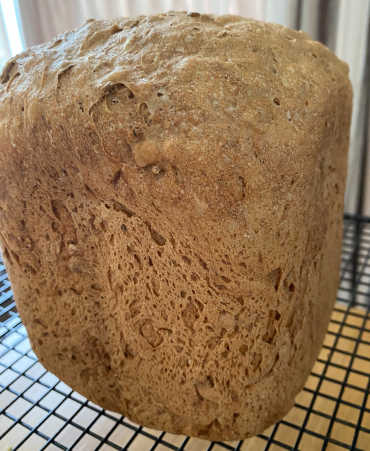
Malted flour has its own character and works well in the bread-maker, even on the regular setting. There’s a lot of different malted flours, but only Hovis flour can be called Granary as they own the trademark for it.
I’ve tried many different types of malted flour and found that there is a lot of variation between them. What you may find is that some require a slightly different water to flour mixture than this recipe, I’ve found a couple of malted flours need slightly more flour than shown here. You’ll be able to tell as if that’s the case it won’t form a proper ball in the bread-maker.

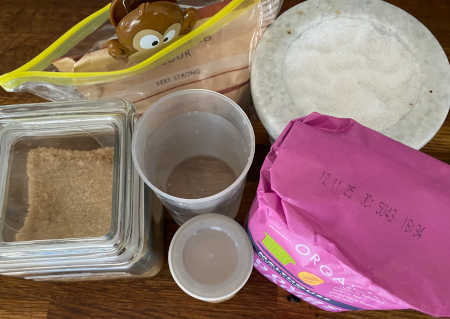
Malted bread maker loaf ingredients
Ingredients
- 300ml luke-warm water
- 10g butter
- 500g malted bread flour
- 10g salt
- 1/2 tbsp of sugar
- 7g of dried yeast
Method
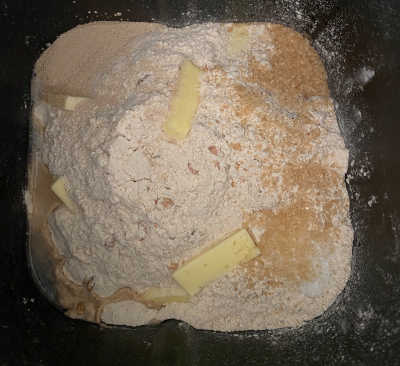
Mix all the ingredients into the bread-maker tray, most bread makers suggest liquid ingredients first so I’ve structured the list that way. If you’re using fresh yeast instead of dried powdered yeast, warm up the water slightly and crumble the yeast into the water along with the sugar for a few minutes before anything else.

Malted loaf ingredients in bread maker tray
As I said above, the variations in different brands of malted flour means that the ratio of seeds to flour differs. You may find that while the bread maker is mixing, it will not form a ball properly after the first mix, if this happens you can add a little more either malted flour or white bread flour.
Always make this loaf on the regular setting in the bread-maker. I normally set the weight to maximum and bake to the dark/longer option. However, if you’re not that used to your bread-maker, try medium first.
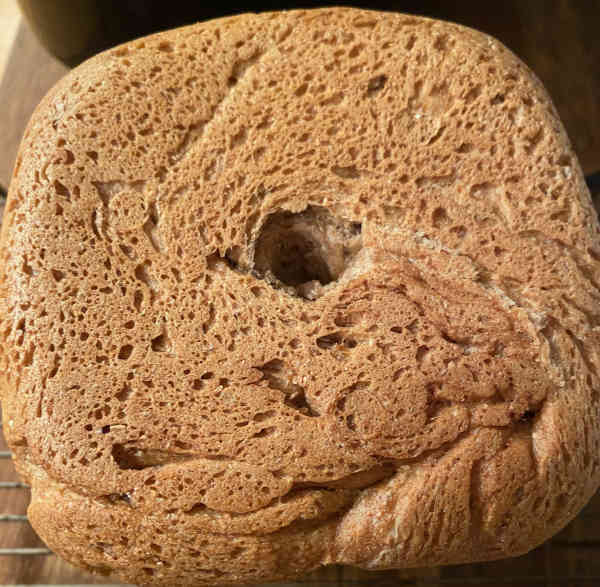
Take the bread out of the tray as soon as possible after baking is complete and put onto a wire rack. The basket will be very hot, take care when removing it. If the base is soft, I normally turn the loaf upside down for a few minutes once it is removed. It makes the base more crispy. Just remember after a few minutes turn it back the regular way around.

Loaf turned upside down
Although tempting, don’t eat the bread until it has cooled, as it is still cooking when hot.
These may be of interest
- Similar - Bread maker Olive and Italian herb loaf
- Similar - Bread maker 50% rye loaf
- Similar - Bread maker everything rye/spelt/wholemeal loaf
- Similar - Bread maker 50% wholemeal loaf
- Similar - Bread maker seeded wholemeal loaf
- Recently published - Bread maker Malted flour loaf}
- Recently published - Book review: Little Book Of Pasta, Rufus Cavendish}
- Recently published - Bread maker Olive and Italian herb loaf}
